10 iPhone Photography Tips for Bloggers
- content
- Aug 5, 2019
- 3 min read
Updated: Sep 3, 2019

Photography can make or break a blog post. If you’re a whiz with copy but your images look like someone took them on a Nokia brick from 2004, you might struggle to attract initial attention to your blog.
Photos are eye-catching. They’re a quick way for a reader to get an impression about your blog, your post or your personality. They can attract followers across social media MUCH more easily than even the most beautifully written article – take Pinterest, for example, where you’re presented with a grid of beautifully composed graphics and photographs to save and peruse before you’ve even seen the blog or publication they originate from.
Attractive, high-quality images don’t always require a £500 DSLR camera and a degree in Photography. Your iPhone, a couple of editing apps and a couple of hours can produce a great result that’ll have your page views soaring in no time.
Here’s 10 iPhone photography tips for bloggers.
1. Clean your lens. Your phone goes through a lot – whether you keep it in your back pocket or the bottom of your handbag, chances are it could do with an antibacterial wipe (or three). Use a lens or glasses cleaning cloth for best results, but wiping it with your sleeve will do the trick in a pinch.
2. Try to keep still. Part of the joy of iPhone photography is the ability to capture moments “in the moment” – no struggling with a lens cap or a heavy camera. However, you don’t want your photos to be too “in the moment”: captured haphazardly and blurrier than a failed eye test. If you want to be fancy you could buy a phone tripod, but holding your phone in both hands and pressing your arms to your sides could work just as well.
3. Experiment with your position. Zooming in while taking a picture isn’t the best idea when it comes to iPhone photography. Zooming reduces the quality of the image and leaves you much less room to play with when you’re editing. If you want to get the perfect shot, it might be worth pushing past some tourists to really nail it.
4. Watch your lighting. Overexposure or underexposure can be fixed with an edit, but why not give yourself the best chance and fix your exposure before you’ve even taken the photo? If it is dark, chances are you’ll need to boost your exposure to let in more light. If it’s sunny and bright, you can lower your exposure to avoid a white “wash” which will cancel out the detail in your photographs.
5. Multiple shots. One selfie is NEVER enough, right? Take as many shots as you (and your phone storage) can, so you’ll have plenty to choose from when it comes to the edit. You might catch a great ‘blink and you’ll miss it’ moment!

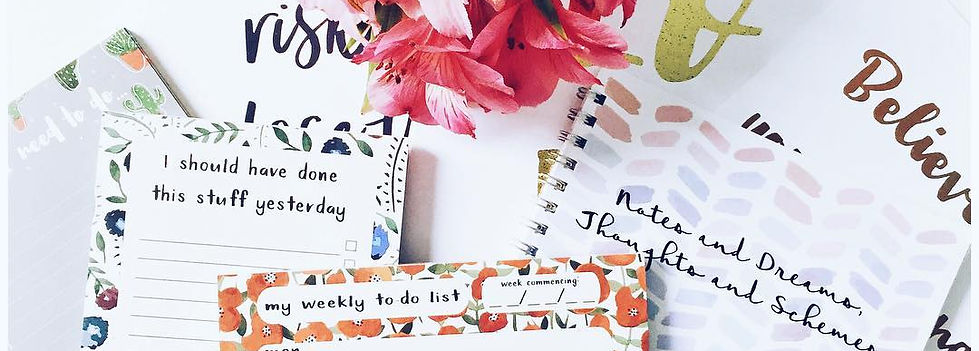
6. Experiment with angles. Bagged yourself a sponsored post and time for some product photography? Try a flat-lay photo – getting the shot from directly above your subject. This allows you to compose the perfect shot and score some serious Instagram brownie points while doing so.
7. Use the Rule of Thirds. Artists use this rule for their compositions. To demonstrate this one, take a photo of an object directly in the middle of the frame. Now take another shot, this time with the object in one-third of the frame. Which looks more professional? If you want to cheat, apply the grid option to your phone camera and have Apple do the work for you.
8. Experiment with a timer. If you’ve got a surface to prop your phone against, there’s nothing to stop you from getting in your own photos with the iPhone camera timer. Some fashion bloggers swear by using the video record function when posing, then snapping screenshots to find a more natural pose.
9. Don’t use flash. The iPhone camera flash instantly wipes out colour and detail from your photo. Try to change your exposure as much as you can prior to editing, then boost it later if you REALLY want to take a photo in the dark!
10. Get to know some editing apps. There are literally thousands of editing apps on the market for the iPhone. Once you’ve found your style, you can choose which app fits you best – but if you need some help in the meantime, you can check out 5 iPhone Photography Editing Tips For Bloggers.


Comments